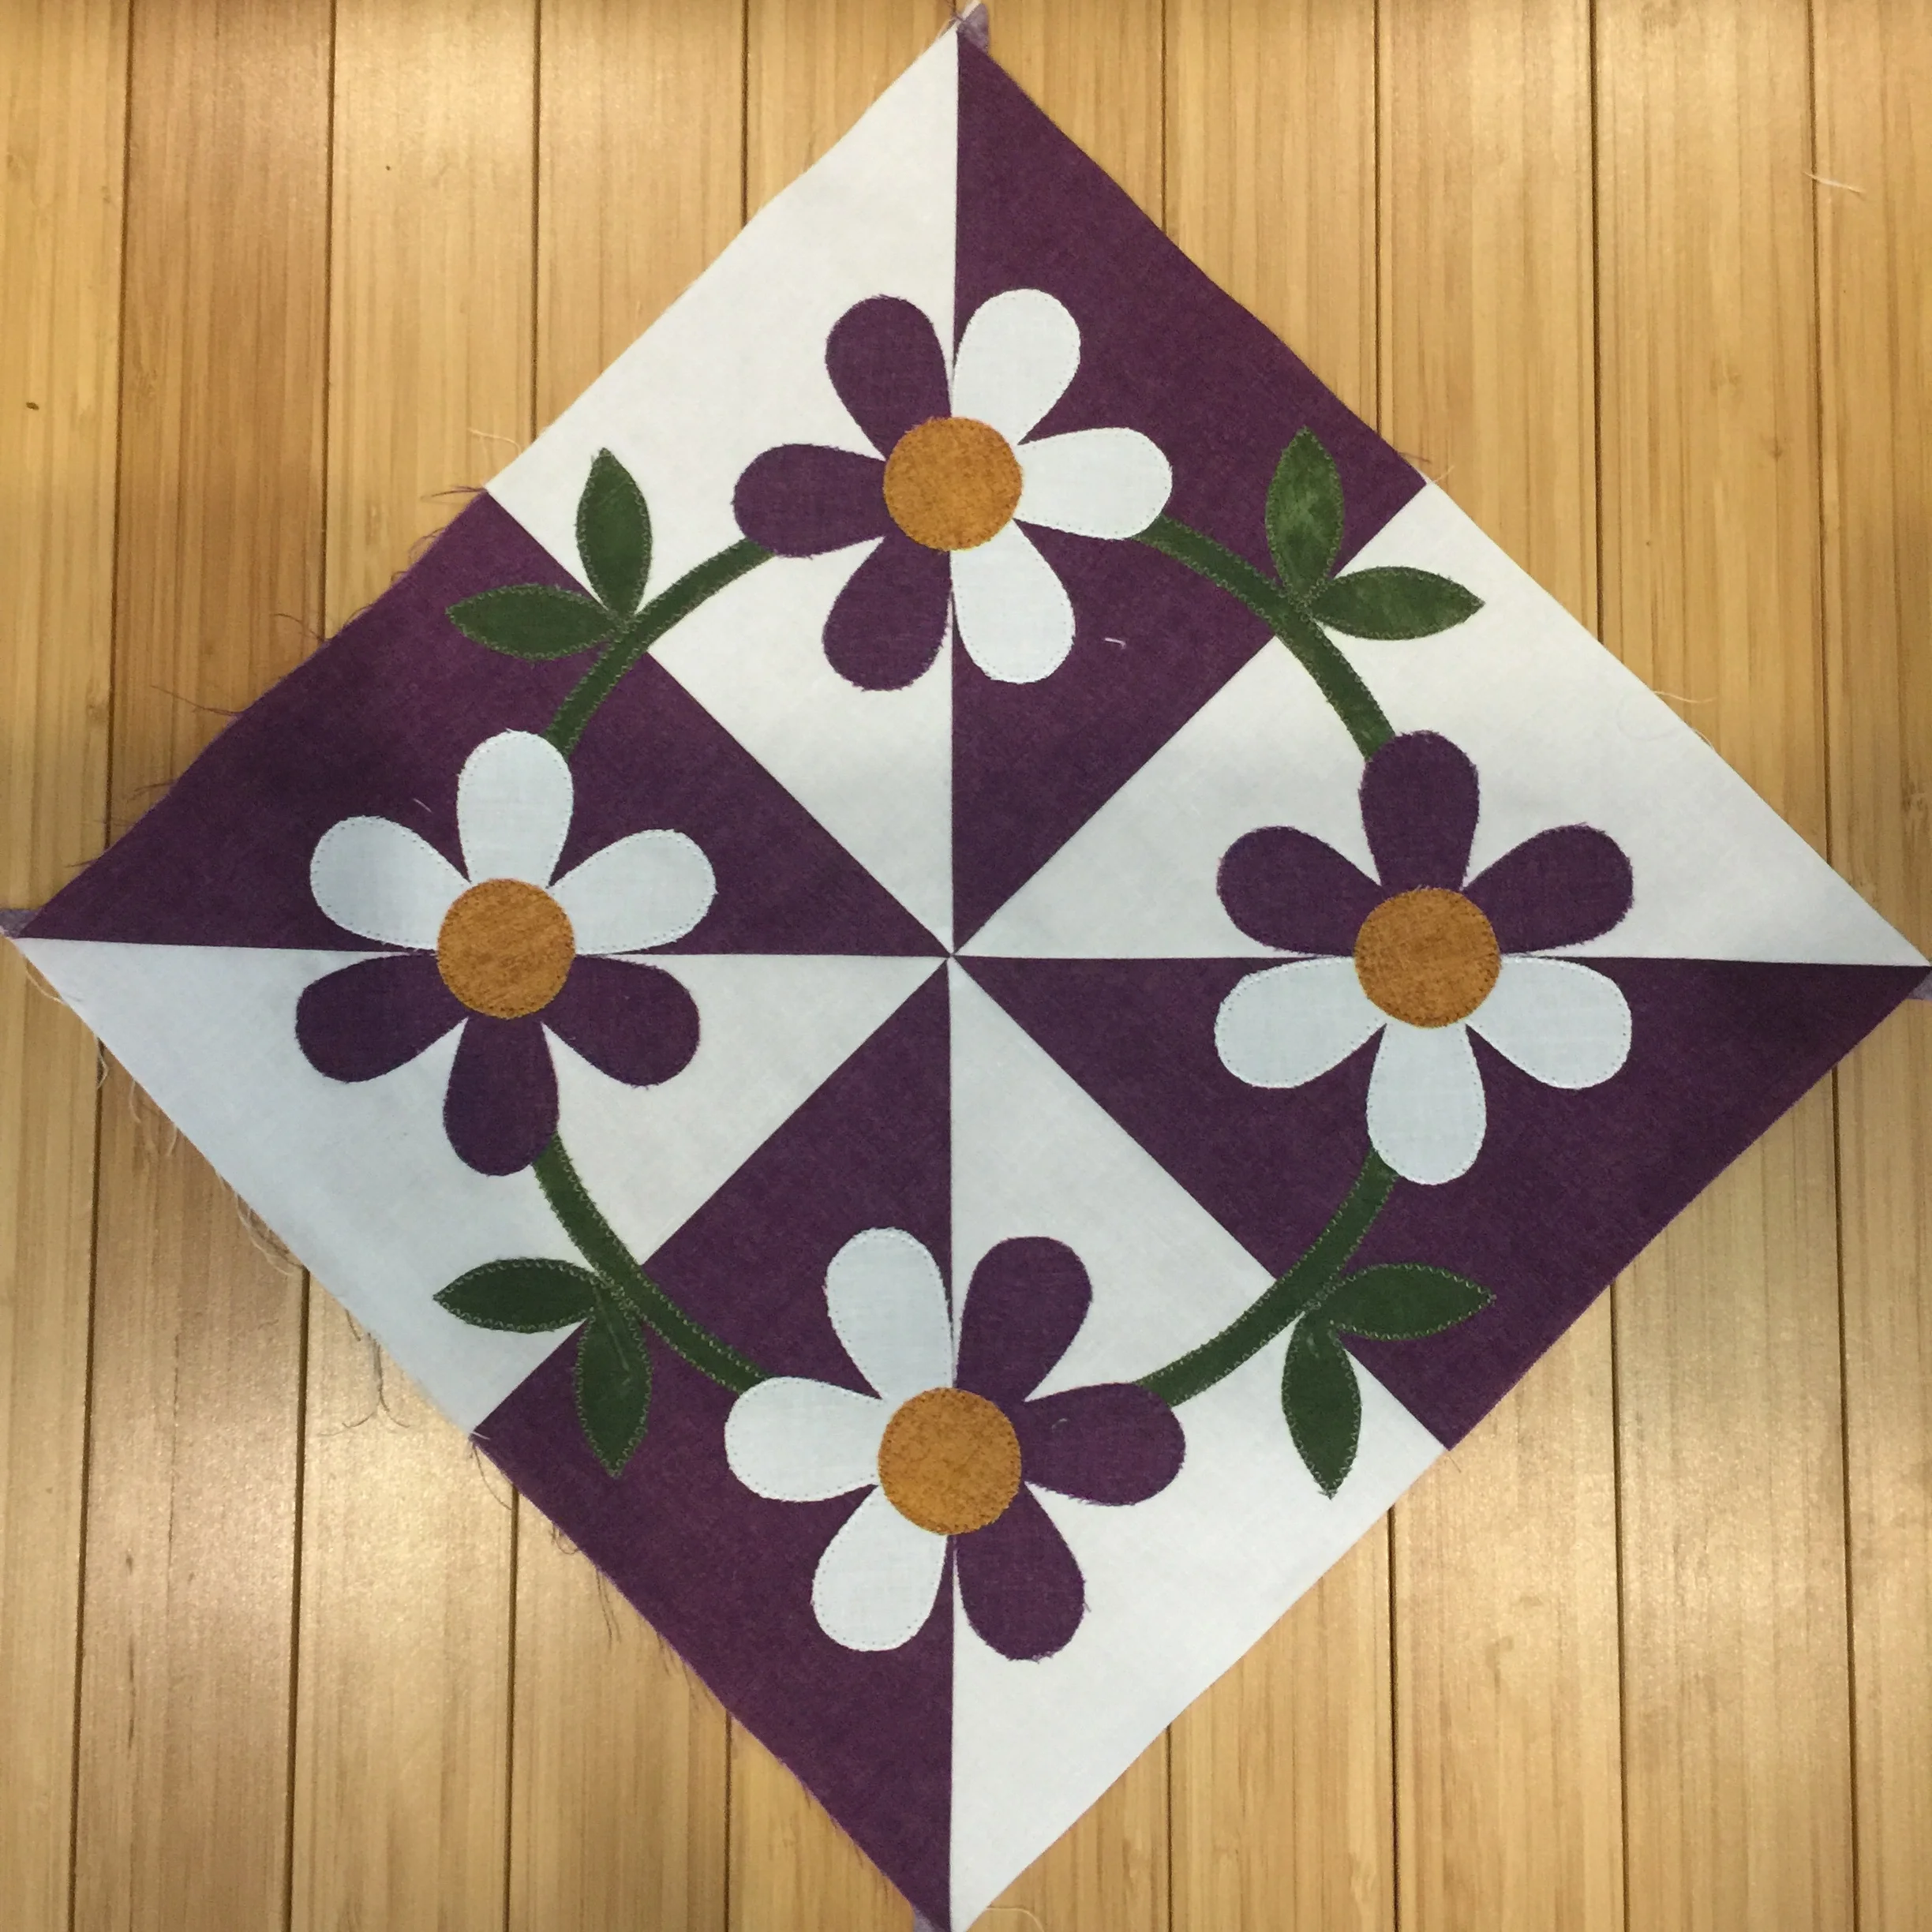
Machine Applique
This project uses fusible web (Heat n’Bond Featherlite) which adheres the applique pieces to the background fabric making it easy to stitch on. I like to use 40wt rayon or quilting thread for my appliqué as it shows off the pretty stitching.
*Always make a ‘sample’ piece to audition and practice your thread choice, stitch options and machine settings before embarking on your piece.
The sections have been fused according to the fusible web product directions and are ready to appliqué. I did not use a stabilizer under my piece, nor a walking foot, just my regular sewing foot. Take note at how easily I am able to maneuver around the applique. If you have an open toe appliqué foot, you may find it easier to see your project. I use the markings on this foot to keep my stitches centered - check yours for helpful markings.
~~~ IF your project wants to scoot around while stitching, then a stabilizer underneath may be helpful. There are many on the market to choose from. Often I will use freezer paper which will ‘stick’ temporarily when the shiny side is ironed to the block back. When stitching is complete, it easily tears away.
I always appliqué with my machine set to stop ‘needle down’.
I am using a zigzag stitch that has been made shorter and narrower, but any appliqué stitch can be used.
Stitch so the needle places the ‘right side’ of the stitch just on the outside edge of the appliqué, the other half of the stitch is in the applique.
When I ‘stop’ to make a turn, I like for the needle to stop (needle down) on the ‘outside’ edge of the appliqué on the convex (outer) curve.
*Note, if this were a concave (inner) curve, I would want my stitch to stop in the appliqué. This gives YOU control.
My goal is for the stitch at a corner/tip to land just at the outside tip. It is ok to manipulate your stitch here a little - watch as I do just that.
Pull the start and stop threads to the back and secure with a knot, or a dab of fabric glue.
I always give my block a light pressing before adding the next set or layer of appliqué.